Developers
Turbofy MCP
The Turbofy MCP connects an AI coding assistant to your workspace. Once it is installed you describe what you want in plain language, and the assistant builds it — tables, records, pages, sections, flows — against your real workspace rather than a copy.
Installing the plugin
Turbofy ships as a plugin for Claude, Codex, Cursor and OpenCode. In the first three it is the same two steps: add the Turbofy repository as a plugin marketplace, then install the plugin from it. The repository is the same everywhere:
https://github.com/turbofy-ai/turbofy-ai-pluginClaude
- 1Open
Claude Codein the desktop app and clickCustomize. - 2Beside
Personal Plugins, click+, thenCreate Plugin→Add marketplace→Add from a repository. - 3Paste the repository URL and click
Sync. - 4Install
Turbofy HTTP MCP(orTurbofy) with the+button.
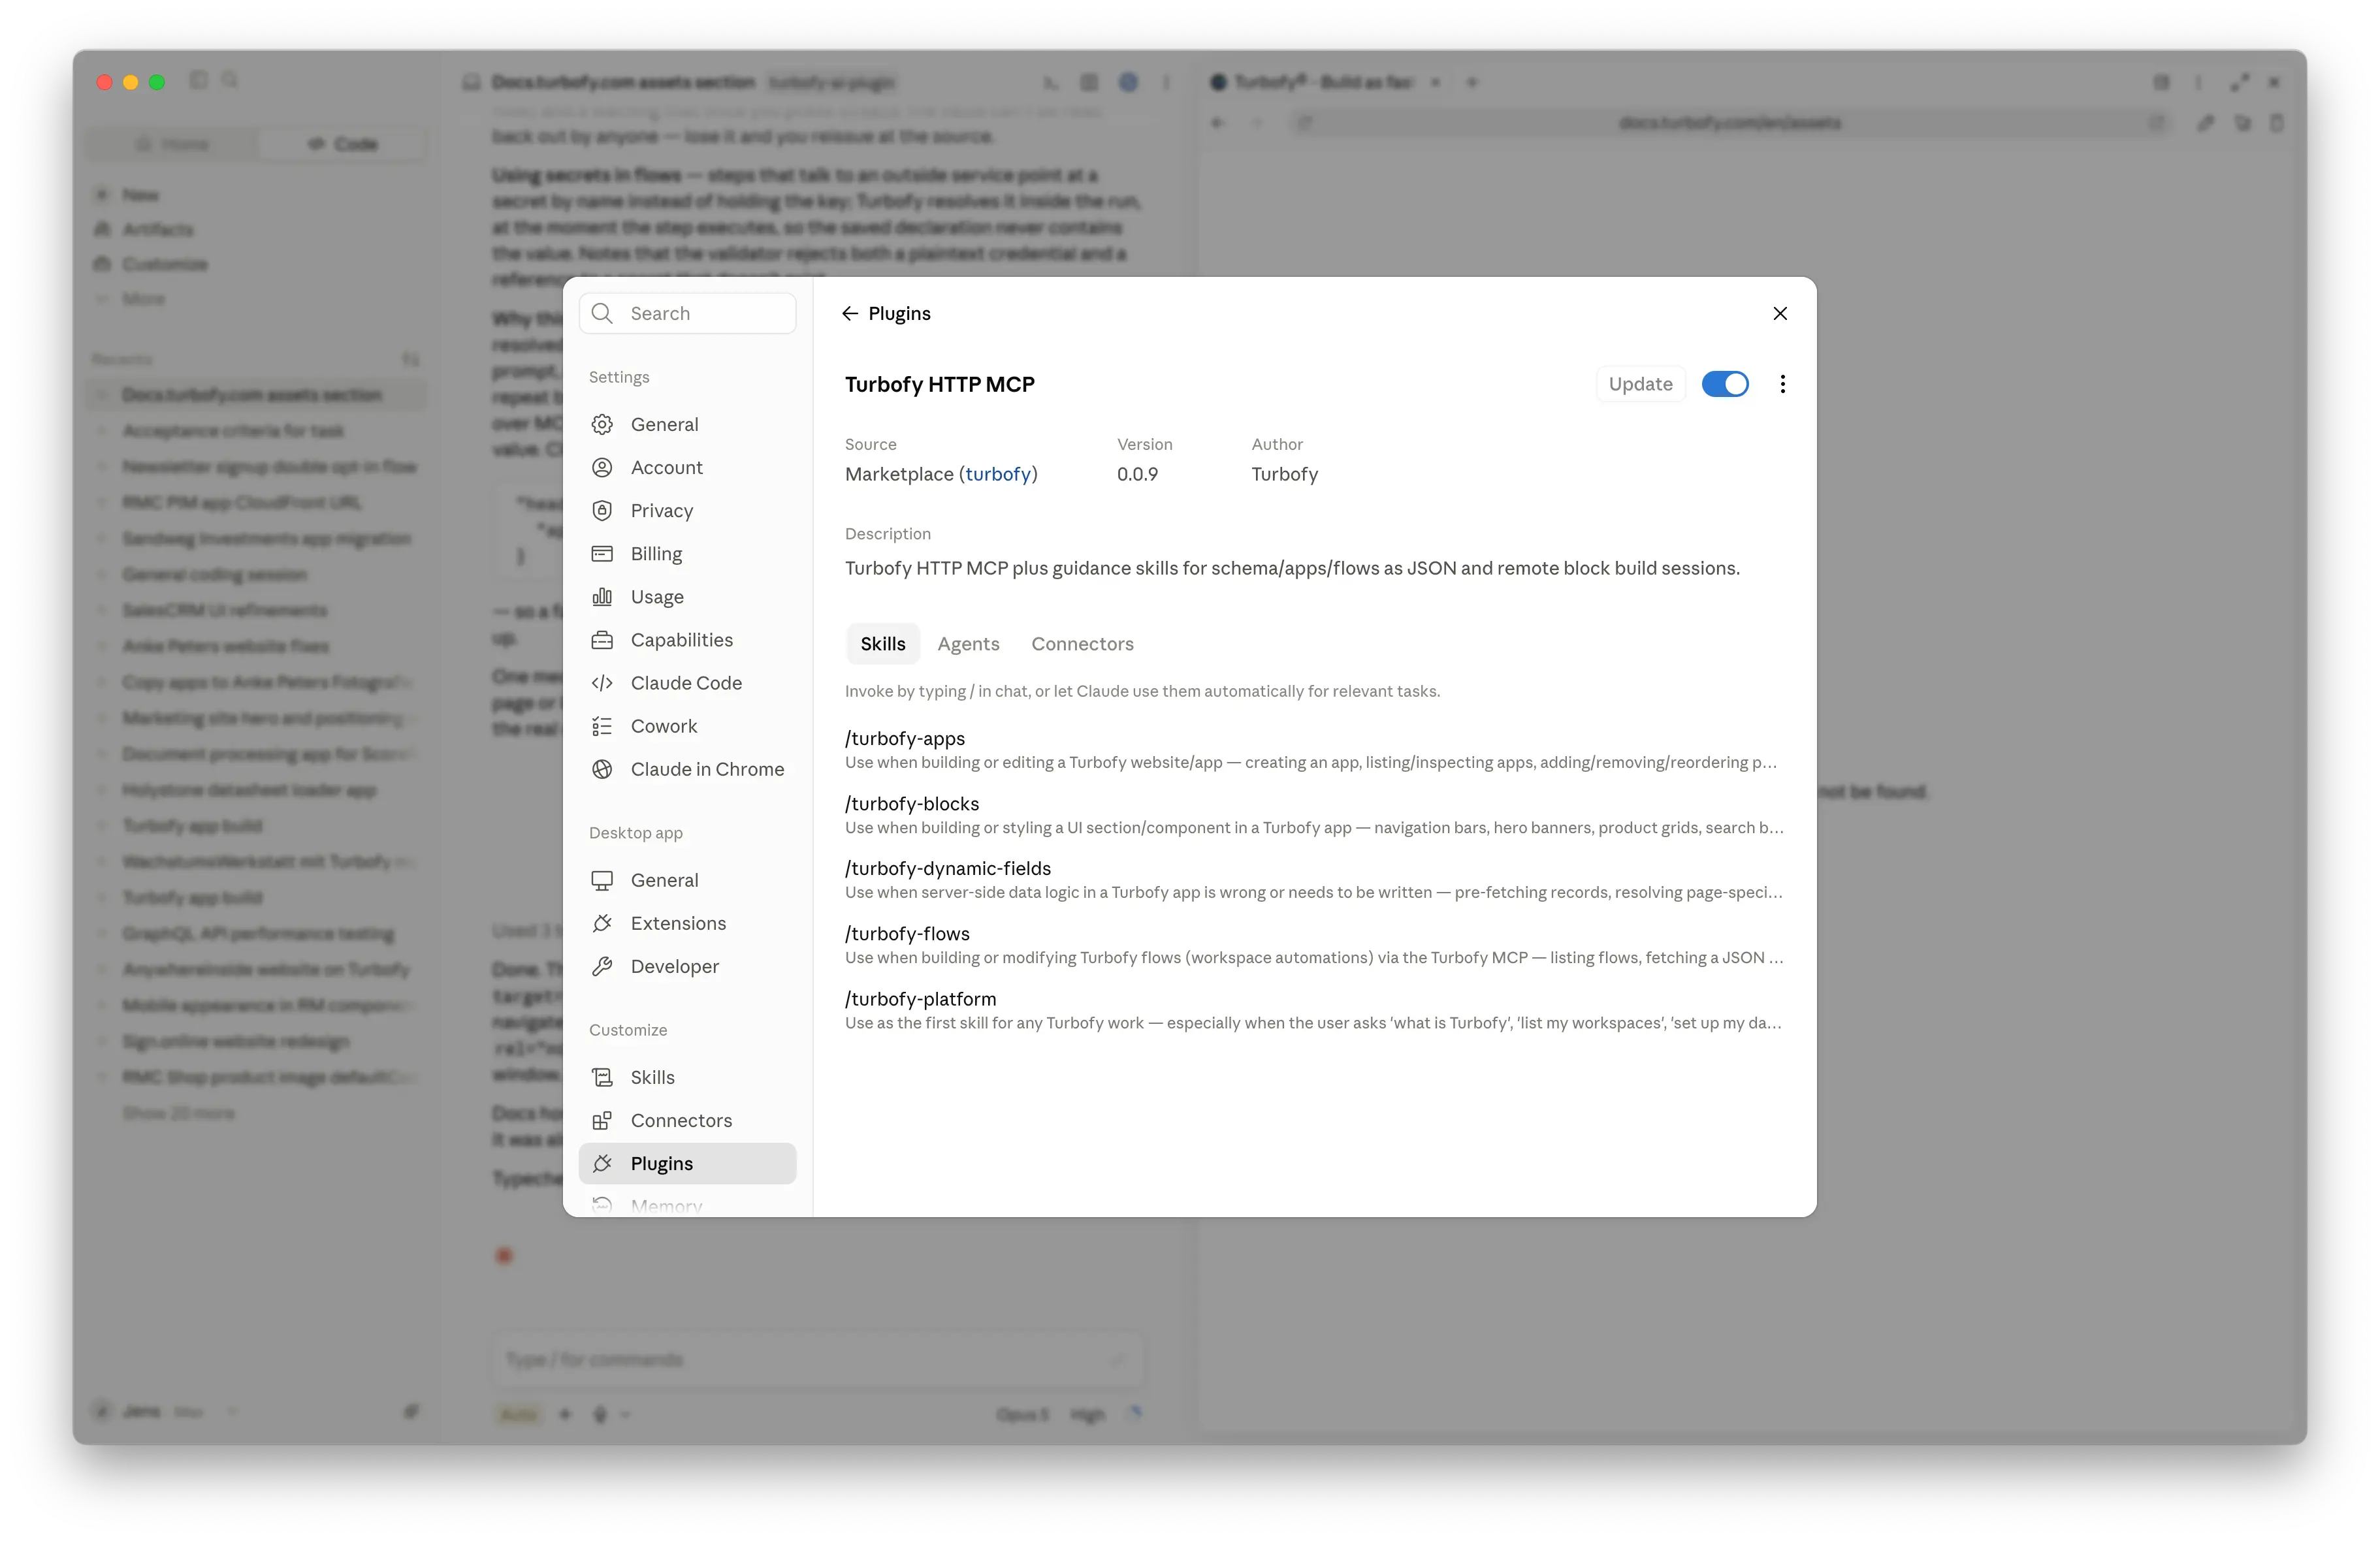
Settings → Plugins, with the skills it brings along.Codex
- 1Open the
Pluginspanel and clickBuilt by OpenAInext to the search box. - 2Click
Add more, paste the repository URL as the source, and save. - 3Click
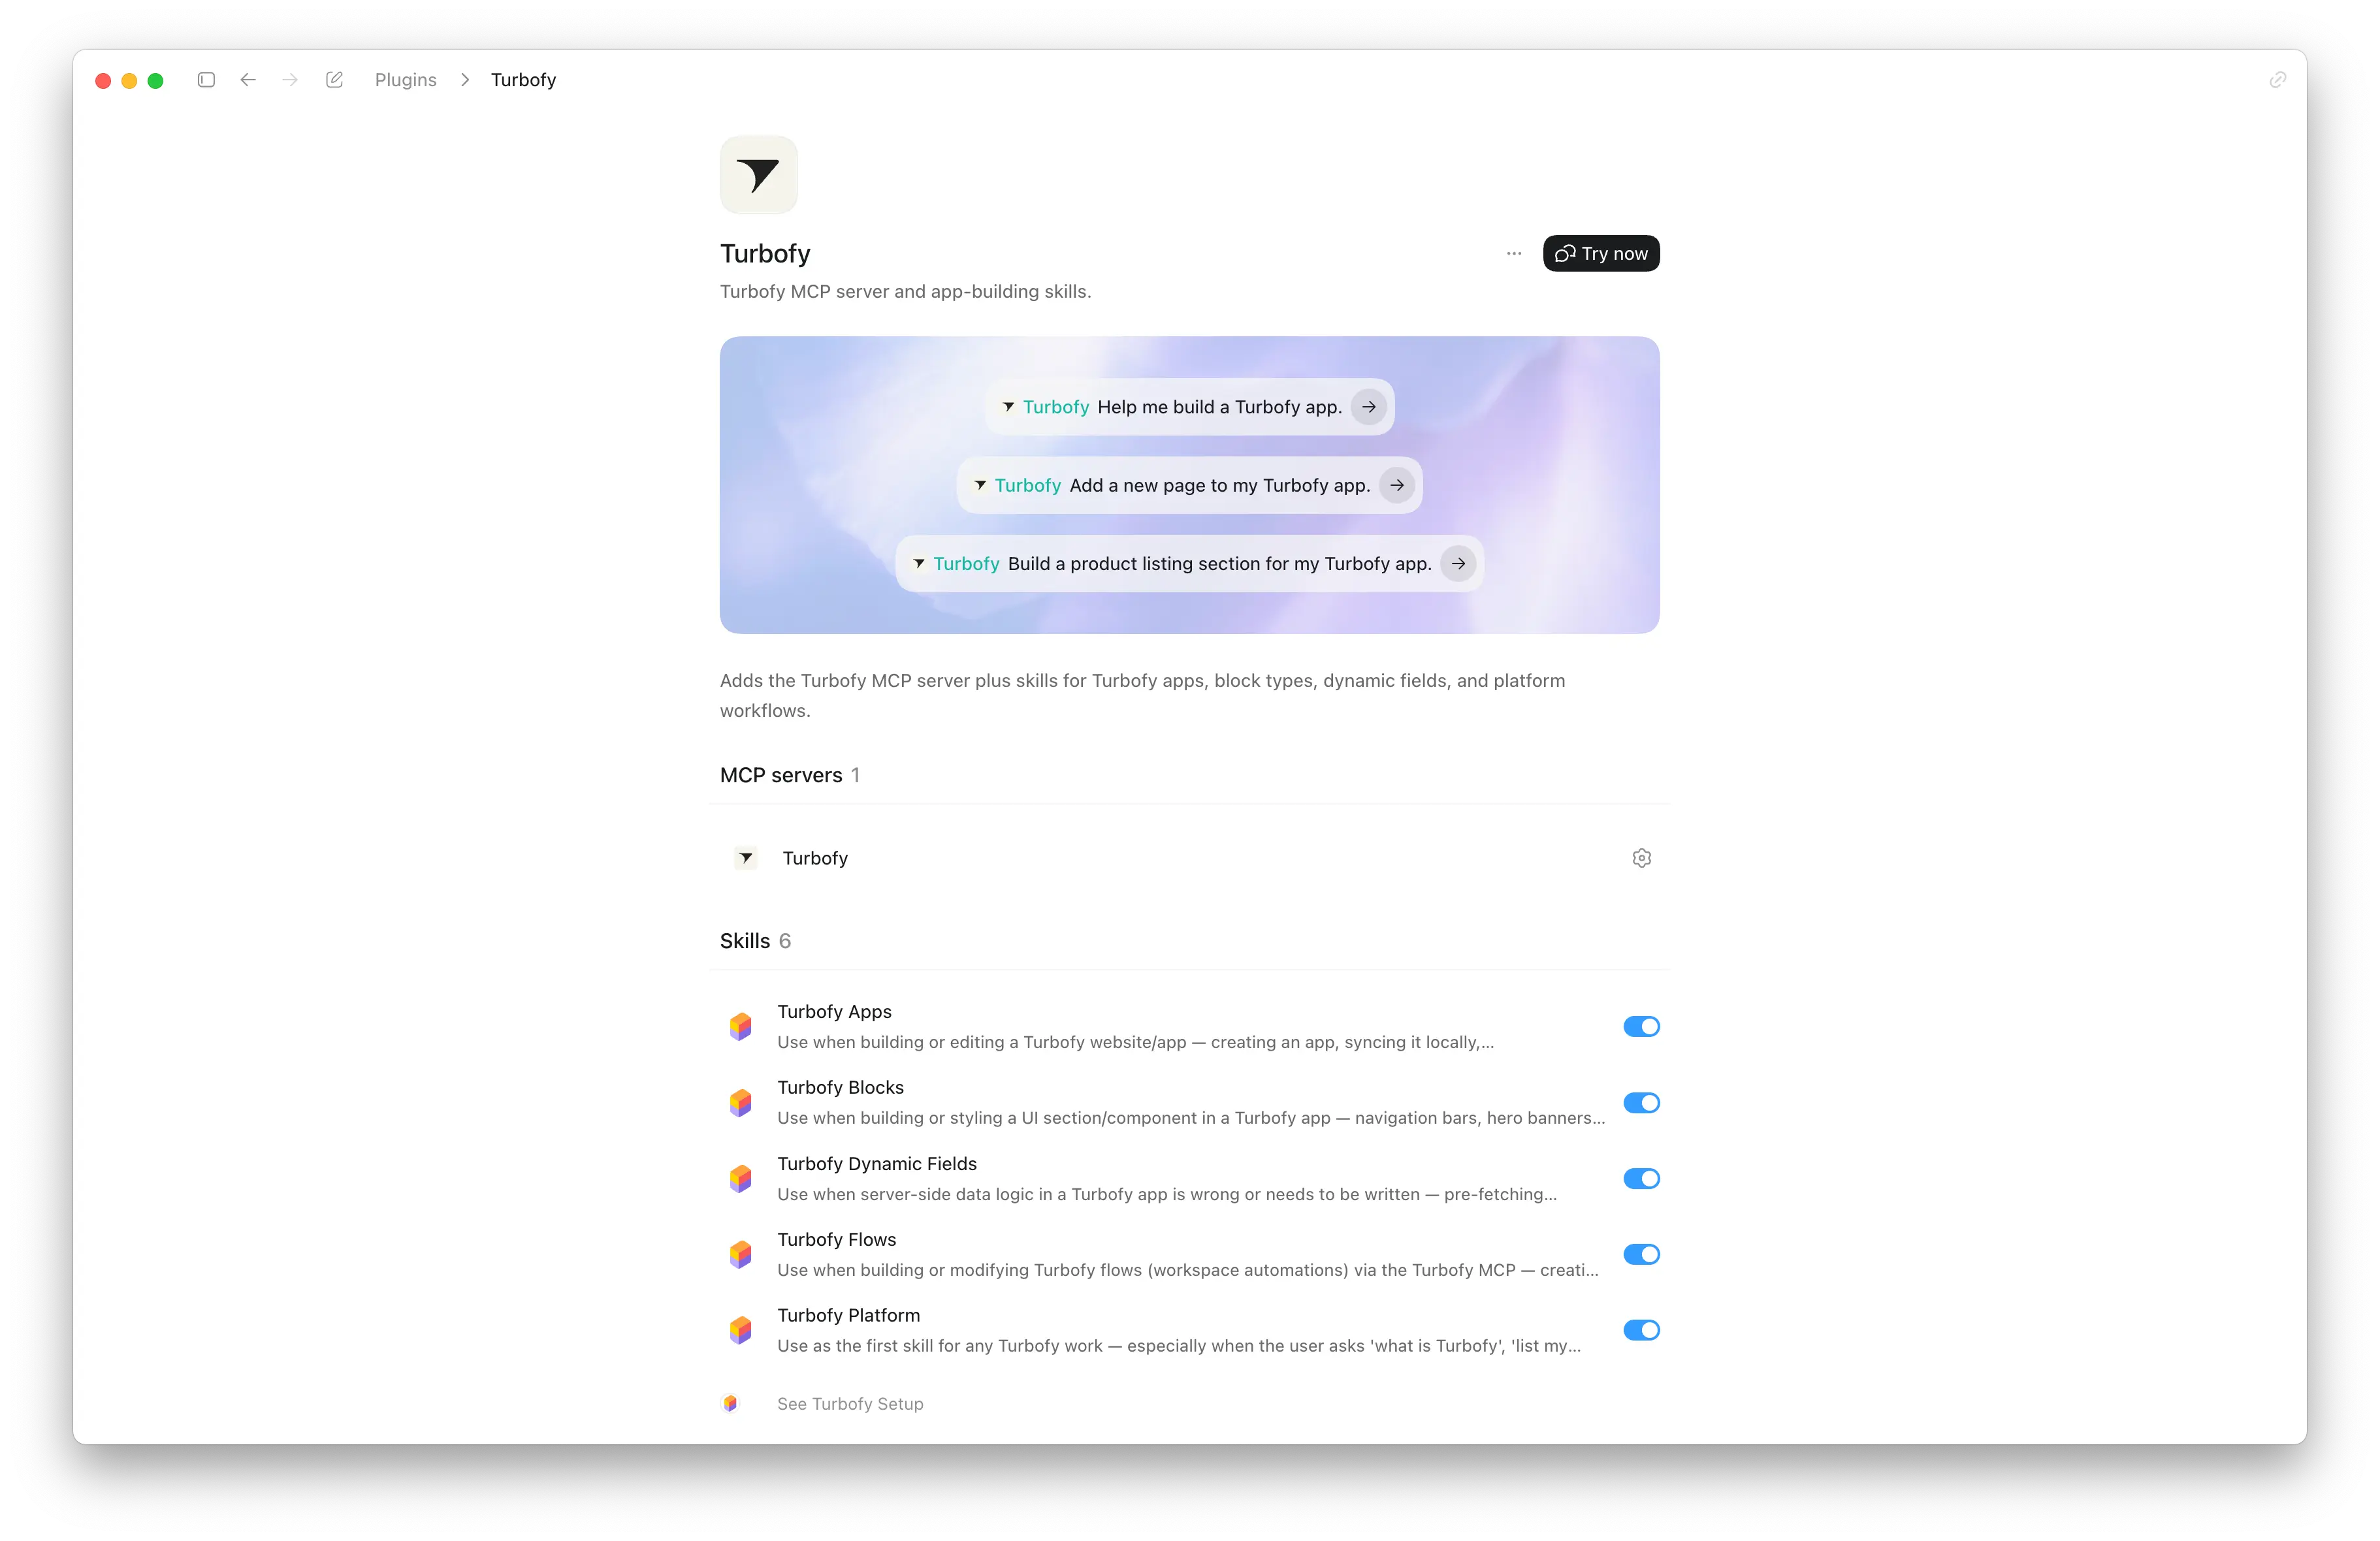
Built by OpenAIagain, findTurbofyin the results and install it. - 4In a chat, reach it from the
+menu underPlugins, or type@turbofy.
Cursor & OpenCode
- Cursor — in Agent window mode open
Settings→Plugins, paste the repository URL into the search field, and install from the results. - OpenCode — add the Turbofy MCP server to your OpenCode config and copy the skills folder into your skills directory by hand; the repository's README has the exact snippet.
The first time your assistant reaches for Turbofy, a browser window opens so you can sign in with your Turbofy account. After that it stays connected.
What comes with it
A plugin is two things: the MCP server, which gives the assistant access to your workspace, and a set of skills — written instructions that teach it how Turbofy actually works, one per area.
turbofy-platform— workspaces, tables, records and files. The starting point for any Turbofy work.turbofy-apps— apps, pages, sections and site settings.turbofy-blocks— the code behind a building block.turbofy-dynamic-fields— the server-side data logic that feeds a section.turbofy-flows— automations.
You never have to remember these names. The assistant loads whichever skill fits what you asked for — they are listed in your plugin settings so you can see what it knows.
Two editions
The marketplace carries two plugins. They use separate server keys, so you can install both side by side without them colliding.
Turbofy— the classic local setup. Your apps and schema are pulled onto your machine under~/.turbofyand edited as TypeScript.Turbofy HTTP— the newer one. Schema, apps and flows are JSON handled over HTTP, and block code is edited in a remote build session, so nothing is checked out locally.
Stay with one edition per task so the assistant doesn't mix the two workflows. In Claude the classic plugin also wants /turbofy-setup run once, so it can work under ~/.turbofy without asking permission every time.
Working with it
Whichever edition you use, a change follows the same shape: the assistant reads the current state of your workspace or app, edits it, previews the result as a dry run, and only then applies it. You describe the outcome you want.
Add a Testimonials section to the home page of my marketing
app, showing quotes from the Testimonial table — three per row
on desktop, one on mobile.
For a bigger change, ask to see the plan before it lands: "dry run it first and show me what would change".
If something isn't working
- Nothing happened after installing — restart the app, or reload its plugins.
- The assistant doesn't seem to see Turbofy — check that you're signed in and that the Turbofy server shows as connected in the app's MCP list.
- You want a clean slate — remove the plugin, add the marketplace again, and reinstall.